
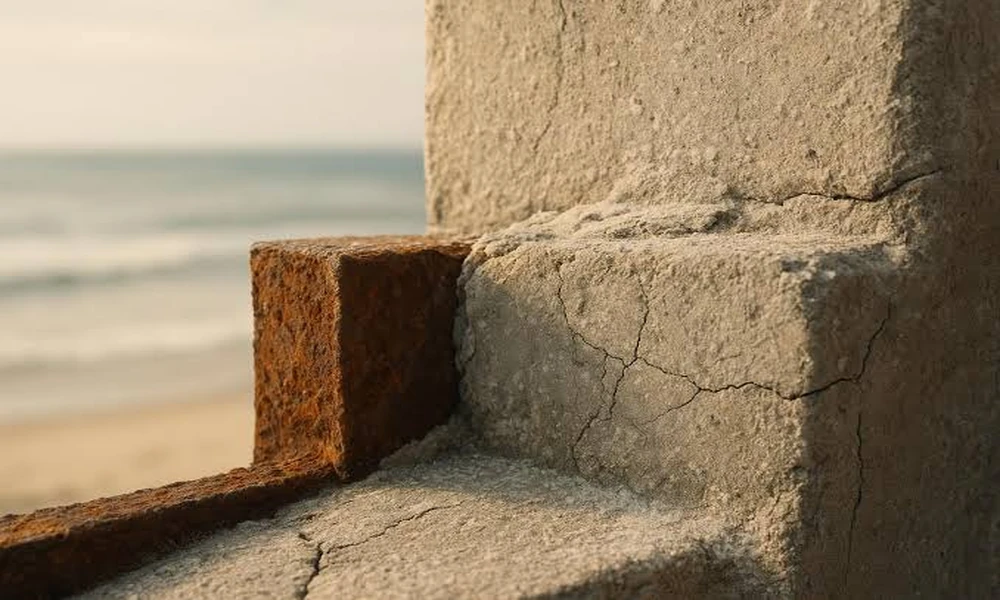
Your parking structure looked perfect in 2019. Now there’s a rust stain bleeding down the beam and a hollow patch the size of a dinner plate near the stairwell. Nobody hit it with anything. Nobody dropped a pallet on it.
The ocean did that, slowly, over thousands of mornings you never noticed. Salt air is patient, and concrete on this island is a buffet. If you own a commercial building anywhere near the water, spalling isn’t a maintenance annoyance you can push to next fiscal year. It’s a structural countdown that announces itself with stains, cracks, and finally falling chunks.
A good Maui concrete repair and restoration contractor will tell you the same thing: the visible hole is the last chapter of a story that started years earlier. Understanding that story is how you avoid paying for it twice.
Why concrete near the ocean fails faster than concrete inland
Concrete is porous. That’s the whole problem, and it’s also why concrete works so well elsewhere. On the mainland, a little moisture soaks in, dries out, and life goes on. In coastal Hawaii, moisture arrives carrying chloride, and chloride is the specific enemy of the steel rebar buried inside your slab.
Rebar sits in a highly alkaline environment, and that alkalinity forms a passive film around the steel that keeps it from rusting. Chloride ions break that film down. Once they do, the steel starts to corrode, and corroding steel expands with real force, several times its original volume. The concrete around it can’t contain that pressure, so it cracks along the rebar line, then delaminates, then breaks away in chunks.
Now add the second half of the one-two punch. According to the National Weather Service, tropical systems and persistent trade winds keep coastal structures wet with salt-laden air and rain for much of the year. Concrete never gets a real drying cycle. Water sits in the pores, the chlorides concentrate as moisture evaporates, and the corrosion clock speeds up.
Freeze-thaw gets all the attention in textbooks. Here, it’s chloride attack plus constant humidity, and I’d argue it’s the more relentless of the two.
Warning signs you can spot without any equipment
You don’t need a hammer and a moisture meter to catch early trouble. Walk your property with your eyes and your knuckles, and you’ll find most of it:
- Rust stains running down from a beam or column, which means the steel inside is already corroding
- Cracks that follow a straight line, often directly above embedded rebar
- Patches that sound hollow when you tap them with a coin
- Pop-outs and white, crusty deposits along the base of walls
- Exposed aggregate or aggregate sitting proud where the surface paste has worn away
That hollow thud is the tell. A solid slab rings back at you. A delaminated one sounds like a drum with nothing behind the skin, and it’s already failed even though it hasn’t fallen yet.
The Salt Line Framework for prioritizing repairs
Here’s a way to think about this that most property managers never formalize, and it saves real money. I call it the Salt Line Framework: draw an imaginary line around your building at a height and distance from the ocean, and sort every concrete element by how hard the salt is hitting it.
| Zone | Where it is | What to expect | Inspection rhythm |
|---|---|---|---|
| Zone 1 | Ground level, facing the water, within splash range | Fastest chloride loading, earliest spalling | Twice a year |
| Zone 2 | Upper floors, exposed beams, ocean-facing balconies | Wind-driven salt plus rain, hidden behind finishes | Once a year |
| Zone 3 | Interior decks, covered parking, landward facades | Slower decay, but leaks route salt inward | Every two years |
Why bother sorting? Because budget is finite and attention is finite. If you spend your repair dollars evenly across a property, you’re overpaying to fix things that could have waited and underpaying on the elements that keep your engineer awake. Zone 1 eats the money first.
That’s where a proper repair on a properly prepped surface buys you the most years.
I’d pick this over a generic “remediate everything now” plan every time. Prioritization is cheaper than panic, and panic is what you get when a chunk of concrete lands on a tenant’s car.
What a real spall repair involves, top to bottom
Slopping a bag of patch mix into the crater is the single most common mistake I see, and it fails within a season. Proper repair is a sequence, and each step earns the next.
- Sound the entire area, not just the visible spall, because the repair boundary has to extend past every hollow spot.
- Chip back to solid concrete and expose the rebar completely around its circumference.
- Assess the steel. Light surface rust gets wire-brushed and coated. Section loss beyond a certain point means the bar gets replaced, and that’s an engineering call.
- Clean and prep per established material standards, then rebuild with a repair mortar matched to the existing concrete’s properties.
- Cure deliberately, and finish with a coating or sealer that slows the next round of chloride intrusion.
The material science here is well documented. The National Institute of Standards and Technology has spent decades studying how moisture and chlorides move through cement-based materials, which is exactly why the surface prep and curing steps aren’t optional extras. They’re the reason a repair lasts twenty years instead of two.
The repair itself also has to account for how that salt got in. If a joint or a window detail is channeling water into the concrete, patching the spall without fixing the source is like painting over a leak. Water gets back in, and you’re doing this again.
Permits, environmental rules, and the stuff that trips up owners
Coastal construction in Hawaii comes with environmental considerations, and a repair crew that doesn’t plan for them will stall your project. The Environmental Protection Agency is a useful starting point for understanding stormwater and runoff expectations, since concrete demolition and washout generate material that has to be managed on site.
Beyond that, older structures sometimes carry asbestos or lead in coatings and sealants, and a competent contractor tests before grinding or demoing. Ask the question upfront. If a bidder shrugs at it, find another bidder.
How to choose a contractor without getting burned
Ask three questions and listen carefully to the answers. First, will you sound the whole area and show me where the repair boundary is, or figure it out as you go? Second, what happens to the rebar, and who decides if it gets replaced? Third, what’s the water source, and are you fixing it?
The answer to that third one separates the pros from the patchers. A contractor who only talks about mortar and mix design is treating a symptom. One who talks about joint sealants, drainage, and coatings is treating your building. Also ask for the license number and verify it, because in a state where shoreline work is tightly regulated, unlicensed crews leave you holding the liability.
Stop the clock before it stops you
Salt air isn’t going anywhere, and neither is the corrosion it drives. What you control is how early you catch it and whether your repair addresses the cause or just the crater. Stains, hollow patches, and straight-line cracks are your invitation to act while the fix is still a repair and not a rebuild.
Walk your Zone 1 elements this month. Tap them. Look for rust streaks. Then get a professional assessment before the next rainy season does the inspection for you. What’s the oldest spall on your property, and how long have you been walking past it?

Comments are closed.